Sunday, May 31, 2015

DIY Projects Update


Small Pedestal Table

Before (scratches, dings)
After
Budget Breakdown
Table:  $3
Sandpaper: free
Stain & Poly:  $18 (2 cans)
TOTAL: $21

I still need to finish the glass.  I've bought some contact paper and etching cream, but I'm enjoying the re-finished top for now!


Guest Room Dressing Chairs

Before

After
Budget Breakdown:
Chairs: $10 ($5 each)
Finishing Oils: $20 (Lemon Oil and Danish Oil)
Fabric & Batting: free from my stash
Scotch Guard for seats:  free from my stash
TOTAL: $30 ($15 each)

I bought these from my neighbor, and after cleaning with some lemon oil and sealing with danish oil, the wood looked amazing.  I used a red and white seersucker for the seat cushion and sealed it with scotch guard.  I'm saving those embroidered seats for something else.


Child's Bench

Before

After
Budget Breakdown:
Bench: $6
Primer: free from stash
Paint: $5
Foam: $5
Batting: free from stash
Fabric: $5
TOTAL: $21

I picked this one up at the Salvation Army for really cheap.  It wasn't too bad originally, but it didn't fit with my style.  I actually got a little over-zealous on the seat (see the puckering)--I probably should have use a thicker fabric, but we have limited choices where we live and I wanted to get it done!


Craft Room Furniture

Before
Before

After

Budget Breakdown:
Furniture: ??? (we've had it for a while)
Primer: $10
Paint: $27
Supplies: $8
Knobs: $20
TOTAL: $65

I wanted matching furniture for my craft room upstairs and I wanted it dark, because the room is light grey and white.  This is Sherwin William's Darkroom (very deep purple).  I've also installed some glass pulls and stainless handles to the cabinet on the right.  I didn't take an update photo because, well... my craft room gets used. :)

Sunday, June 10, 2012

DIY: Mason Jar Soap Dispenser

I made this!

Handsome and I's conversation a few weeks ago, while I was supposed to be helping him unpack our office.

Me:  I need you to help me make a crafty-craft.  (Blank stare from Handsome.)  I need you to drill something for me...
Handsome:  What kind of "crafty-craft" are you making that you need me to drill something?  And weren't you going to help me unpack?
Me:  I will.  I promise.  I just don't feel like it.  So... will ya help me? (Insert cheezy grin and puss-in-boots pleading eyes.)

Thus, the mason jar soap dispenser project, herein known as MJSD project, commenced.


I first saw this project on thekitchn.com, but found that it was a little more involved than the post made it sound.  I share below how it went for me and things I learned along the way; my edits are in italics.

Supplies:
  • Mason jar (pint size) and lid
  • Old soap bottle (with pump)
  • Ruler
  • 2 Part Epoxy (plastic & metal kind)
  • Toothpick (or something else to mix and spread the epoxy with)
  • Cardboard/Paper plate to mix epoxy on
  • Drill with hole attachment (with largest drill bit you have)
  • Scissors or Boxcutter
  • Marking pen
  • Leather Work Gloves (please don't cut yourself!)
  • Tin Snips
Choose a jar about the same height as your soap dispenser
(I really like that mine says "Mason Jar" on it)
Directions:

1. Cut off top of old soap bottle just below the thread.  I marked with a permanent marker, and then tried to cut with box cutters.  WEAR GLOVES!!!  I found that the plastic is really thick at the top, so just cut part of it off as best as you can, and then you can trim it later with your tin snips (or other heavy-duty scissors).  You will probably have to use a lot of pressure to cut, so BE CAREFUL!


I, obviously, didn't cut on my original line, but I cleaned it up later with tin snips.

2. Use pen to measure and mark a circle in the lid of the mason jar.  You may not know this, but it's pretty hard to measure with a pen, so I used a ruler to get a rough estimate.  Draw a tiny X where the middle is and then measure the circle width with your X in the center (see below).

Mark where to drill with an X and a circle

3. Drill hole in lid of mason jar.   Drill a hole in the center with your largest bit, or use a hole attachment if you have it (mine was a 3/4" hole).


Get someone with a steady hand to drill for you


3a. Use tin snips to widen hole until the threaded plastic part fits through.  WEAR GLOVES and BE CAREFUL!  I had no success when I tried to file the hole smooth, so I wouldn't bother, unless you're a very patient person.


These are tin snips.  You can get them at a hardware store.


Not enough yet!

Don't worry too much about sharp edges, the top part will cover it.

It probably won't be quite flush with the bottom, but that's okay,
epoxy is strong stuff and will hold it together.

4. Mix epoxy and apply to the lower rim of the bottle top.  This stuff is hard-core, so try not to make a mess.  Read and follow the package instructions.  Mine had to sit for 20 minutes, undisturbed, and then had a full-cure in 24 hours.

Here's what I used.

Use a toothpick to apply the epoxy.  Let it sit according to package directions.

5. Insert the pump dispenser through the bottle top and screw tightly to secure.


6. Let the epoxy dry according to the instructions.  I did this earlier, it makes more sense to me to let it cure separately so you don't accidentally fuze it all together... unless that's what you want.

7. Fill with your favorite liquid soap.  Or with the soap that was in the bottle you just destroyed to make your pretty, new mason jar soap dispenser!


Wednesday, April 11, 2012

DIY: Fitted T-Shirt

Don't we all have a few too-large t-shirts lying around?  A while back I grabbed two K-State ones that had some potential and re-sized them to fit me better.  I wasn't going to share it on here, since it's been done on so many other blogs, but at the prompting of some friends, I've decided to share the tutorial.  I hope it's clear enough--ask your questions in the comments.

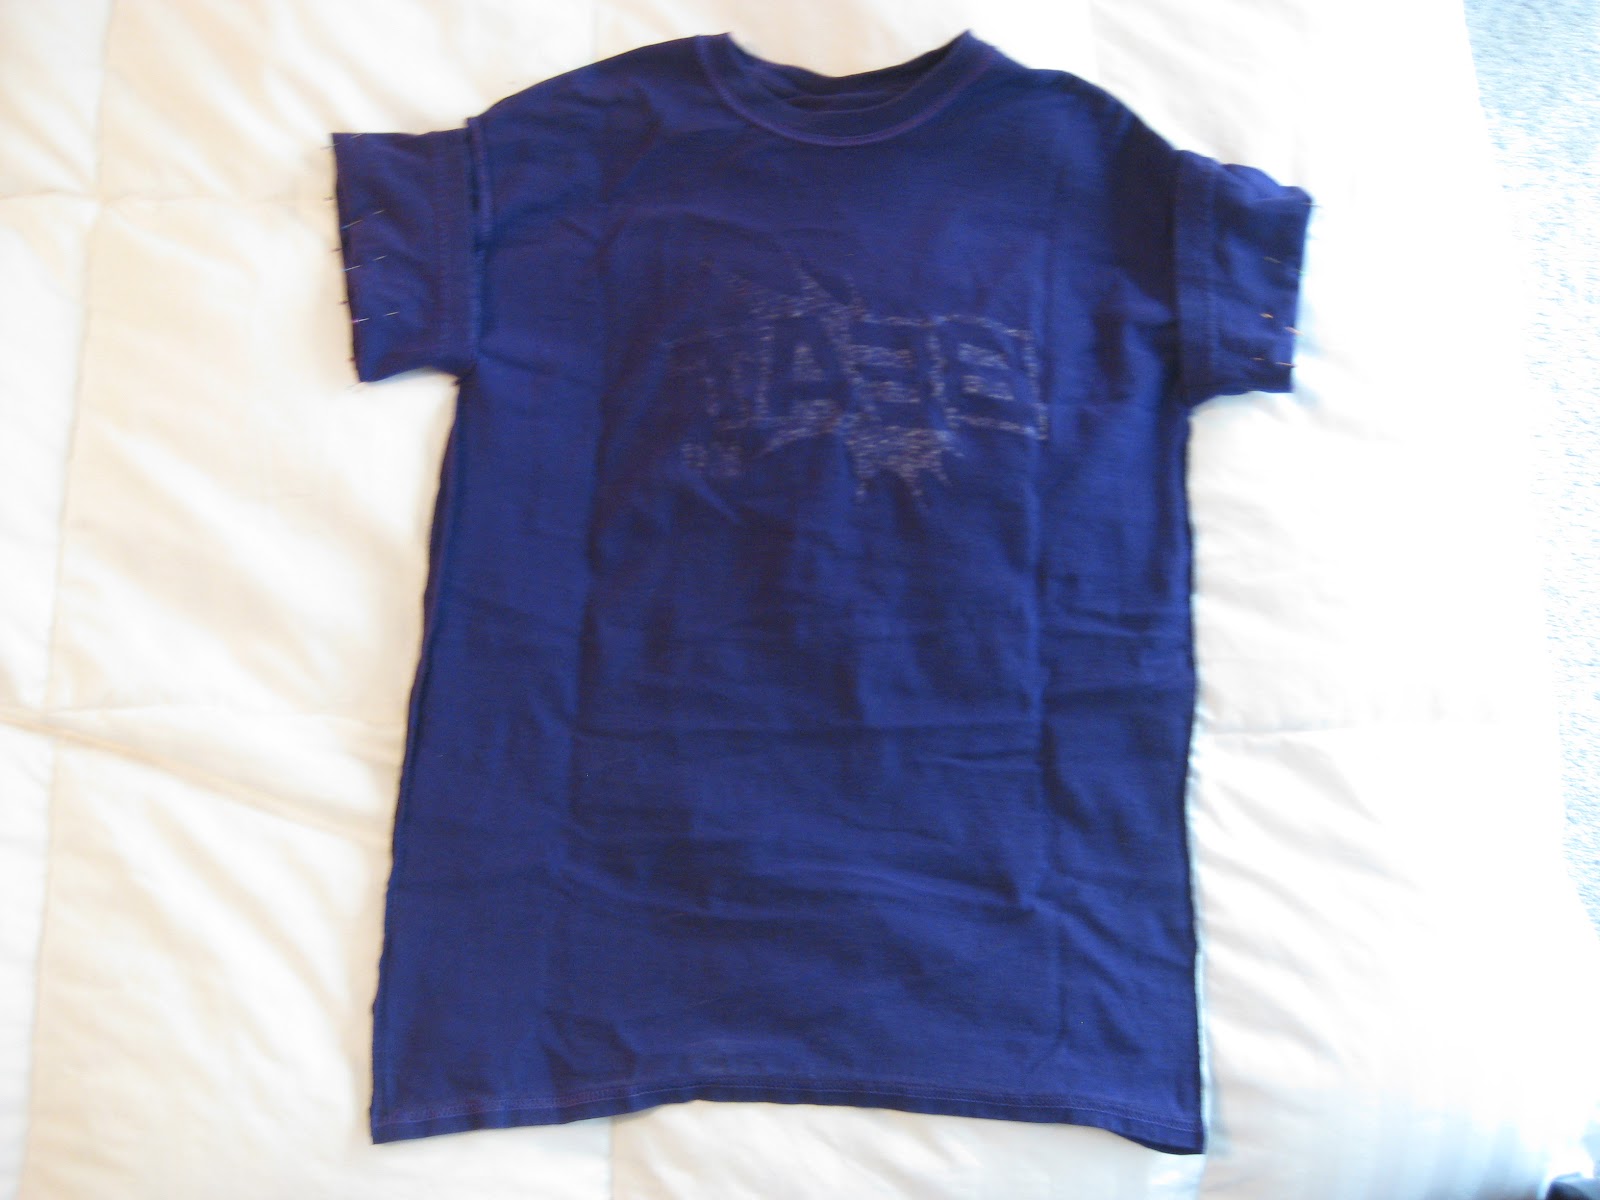
I know, it's not the same t-shirt, but you get the idea...

You'll need:
  • T-shirt to re-size
  • T-shirt that fits you well
  • Marker that shows on fabric (sharpie or fabric pencil)
  • Sewing machine
  • Matching thread
  • Scissors
  • Needle for sewing by hand

Time:  1-2 hours

Instructions:
  1. Turn the t-shirt you want to re-size inside-out and lay flat (no wrinkles, line up the seams) on a table or other flat surface.  
  2. Lay the t-shirt that fits you well on top.  Line up collar and shoulders to center.  
  3. Trace around the shirt that fits, extending lines to the edge, as shown (red line).  (Note:  extending the lines makes it an extra-long t-shirt, so if you want it shorter, follow the instructions for shortening the sleeves in step 5)  Pin along the line.

     
  4. Sew along line.  Turn it right-side out and try it on.  If it fits well, trim excess fabric.  You may also sew another line to finish and reinforce the seam.
  5. If you like the length of the sleeves on the t-shirt that fits, use that to measure, otherwise put the t-shirt back on and roll up the sleeve (one fold on the inside) until it's the length you want.  Pin it all the way around.
  6. Sew a double seam (starting underneath the armpit), 1/4" apart, and 1" from the edge (or whatever the distance was previously).  Trim excess fabric.
  7. If you want a regular neck, you're done!
  8. For the v-neck, I watched this video for inspiration and then went with it.
  9. Cut off the collar and then fold in half to cut out a "V".
  10. Try it on to see if the "V" is where you want it.
  11. Once you're satisfied, lay it flat.
  12. Use the material you trimmed off of the sides to make the new collar.  Sew the leftover strips together to make one long strip.
  13. Fold the strip in half and iron it (Note:  I forgot to do that in the photos, so ignore the fact that it's not folded--the photos are wrong.  Don't be like me, I had to seam rip... a lot).
  14. Pin the collar to the t-shirt, right sides together.  Use lots of pins.
  15. Sew almost all of the way around, 1/4" seam.  Don't sew the "V"... yet.  Leave 1/4" on each side of the point.
  16. Let the finagling begin...  Lay back the ends of the strip and sew as close as you can to the "V".
  17. Pinch the edges together to make a nice "V" shape with the collar strip.  Pin in place.
  18. Sew along the pinched line.
  19. Trim and tack by hand or sewing machine.
You're done!!!  Enjoy your new shirt!  


I've made two of these and plan to make more once I get a new sewing machine (RIP old buddy).  Knit is great because it doesn't fray, so there's no need to worry about perfection here.  Even if the edges don't line up perfectly, no one will notice!

Saturday, March 10, 2012

DIY: Coffee Filter Roses

Do you use Pinterest?  I really like it!  It’s great for helping me organize all of the things I want to make.  Recently, a friend pinned a coffee-filter-rose wreath, and I was instantly intrigued.You can make flowers out of coffee filters that actually look pretty?
The Finished Bouquet

I did a little Google research, and found instructions from the blog Aunt Peaches to make roses on a stem (see her blog for the instructions).  She describes three different ways to make them, but I only did the first two (making my own variations, because following rules can be so boring–even for me!).
The Set-Up:  I used cooling racks and a fan to dry my filters.

I even mixed colors on one rose, but I didn't like the result.

The First Method -- I liked the compact center it made.

The Second Method -- I had to trim the pointy edge.
My tips:
  • You may have to trim your roses a little.  See photo #5 has a pointy edge?  I trimmed that off.
  • I used white masking tape to make the roses and then wrapped them in floral tape.
  • To make the vase:  paint a heavy coat of white acrylic inside a clear glass vase, dry overnight.  Don’t put water in it ever again or you’ll ruin the paint.

Tuesday, January 17, 2012

DIY: Crossbody Purse


Remember that purse pattern I was working on last week?  I finished the purse this weekend and I love it!  It turned out way better than I thought it would (given all of my recklessness).  If you want to see how I made it (and make your own) visit my instructions post.


DIY: Cross-body Quilted Purse Instructions


Want to make this bag?  I'll show you how.  However, a warning:  this is not for the faint-of-heart or beginner sewer.  I am not very good at pattern-making (this was my first attempt), and I'm sure my instructions will not be detailed enough.  Also, if you're an expert (or mildly proficient), please excuse my seams, I'm still learning.

This bag is made from pre-quilted material.  The material is double-sided, so the bag and pockets have no inside liner.  I found this to be a tricky problem, but I like what I ended up with.

You will need:
  • 1 1/2 yd. pre-quilted (double-sided) fabric
  • 12" Zipper
  • 2 D-Rings
  • Double-Fold Bias Tape
  • Magnetic Closure/Toggle Button/etc. (optional)
  • Large safety pin (not used in final product)
The following photo is my (rudimentary) pattern.  All seams are 1/4".  Click on the photo for a larger image.


Cut out all parts and label pockets with masking tape.


For the body and pockets:
If you're like me, pin a section of bias tape on the top edge (if you're like my mom, who's awesome, just align it and sew away!).  Iron and sew all other edges (I found it easier to sew edges before pinning them on the body, because the fabric is so thick).


Sew inner zip* pocket on inside of bag, 2" down from the top and centered.

Sew outer zip* pocket on outside of bag, opposite of inner zip pocket, 2" from the top and centered.  It should be the same width, but a little longer than the inner pocket.


Sew double pocket on the inside of the bag.  Sew a line down the middle of the pocket to separate it into two pockets.

I hope you have a zipper foot.  It will be handy for the next part.  Sew the zipper on one side, then the other.  If you don't have a zipper foot, like me, you can hand sew using a back stitch.  Use sturdy thread (button) or double-ed up all purpose thread.

Turn the bag inside-out, right sides together, and sew the side seams and bottom.


Fold the corners so they make a box-shaped bottom and sew.  Make sure to finish all seams (I did two rows of straight-stitching because that's all my machine could handle, it's nuts, but that's a different story).


That wasn't too bad, really.  Just turn it inside-out and you're almost home-free!

Now for the strap:
Fold in half, right sides together, and sew edge.


Now we're going to turn this puppy inside-out.  The best way that I know starts with a large safety pin.


Pin the corner and then begin to push the pin inside the strap.


Keep pushing!


Once it's inside, begin to push it through the inside, pulling the fabric past it (getting rid of the bunchy-ness).  This is the hardest part, be patient and don't let go of the safety pin!


Once it's through, it's a piece of cake.  Just finish pulling the outer fabric over the inner fabric.


Sew bias tape on the raw edge.  Fold the end 2" over the D-Ring and sew a box with an X in it (as shown). Finish each edge this way.


For the strap anchor:
Fold in half (6" edges together, hotdog style), right sides together, sew and turn inside-out (in the same way you just did the strap).  Bias tape or just fold in and sew one edge to finish it (leave the other edge raw).


Fold raw edge through D-Ring to approximately 2" depth and sew to anchor.


Hand sew the anchors to the side of the bag, as shown below.  At this point you can attach a flap over the outer pocket or call it quits.

For the flap:

Fold the 6 1/2" edge over 2".  Fold in edges and trim excess if you want beveled edges, otherwise sew 1/4" seam on all edges and attach to bag.  Attach magnetic closure as instructed on package, pushing through only one layer on the flap.  Otherwise, use a cute button to close (or nothing at all).

You're finished!!!


I hope you like it!  Let me know if you make one in the comments!

*Initially, I was going to sew zippers on these, hence their name on the pattern.  However, the final pattern has no zippers for these pockets.  Sorry about the confusion.