
 |
| I know, it's not the same t-shirt, but you get the idea... |
You'll need:
- T-shirt to re-size
- T-shirt that fits you well
- Marker that shows on fabric (sharpie or fabric pencil)
- Sewing machine
- Matching thread
- Scissors
- Needle for sewing by hand
Time: 1-2 hours
Instructions:
- Turn the t-shirt you want to re-size inside-out and lay flat (no wrinkles, line up the seams) on a table or other flat surface.
- Lay the t-shirt that fits you well on top. Line up collar and shoulders to center.
- Trace around the shirt that fits, extending lines to the edge, as shown (red line). (Note: extending the lines makes it an extra-long t-shirt, so if you want it shorter, follow the instructions for shortening the sleeves in step 5) Pin along the line.

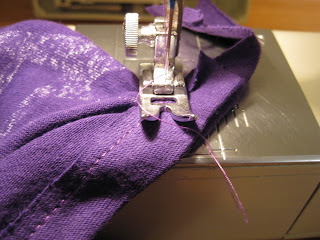
- Sew along line. Turn it right-side out and try it on. If it fits well, trim excess fabric. You may also sew another line to finish and reinforce the seam.
- If you like the length of the sleeves on the t-shirt that fits, use that to measure, otherwise put the t-shirt back on and roll up the sleeve (one fold on the inside) until it's the length you want. Pin it all the way around.

- Sew a double seam (starting underneath the armpit), 1/4" apart, and 1" from the edge (or whatever the distance was previously). Trim excess fabric.

- If you want a regular neck, you're done!

- For the v-neck, I watched this video for inspiration and then went with it.
- Cut off the collar and then fold in half to cut out a "V".

- Try it on to see if the "V" is where you want it.
- Once you're satisfied, lay it flat.

- Use the material you trimmed off of the sides to make the new collar. Sew the leftover strips together to make one long strip.

- Fold the strip in half and iron it (Note: I forgot to do that in the photos, so ignore the fact that it's not folded--the photos are wrong. Don't be like me, I had to seam rip... a lot).
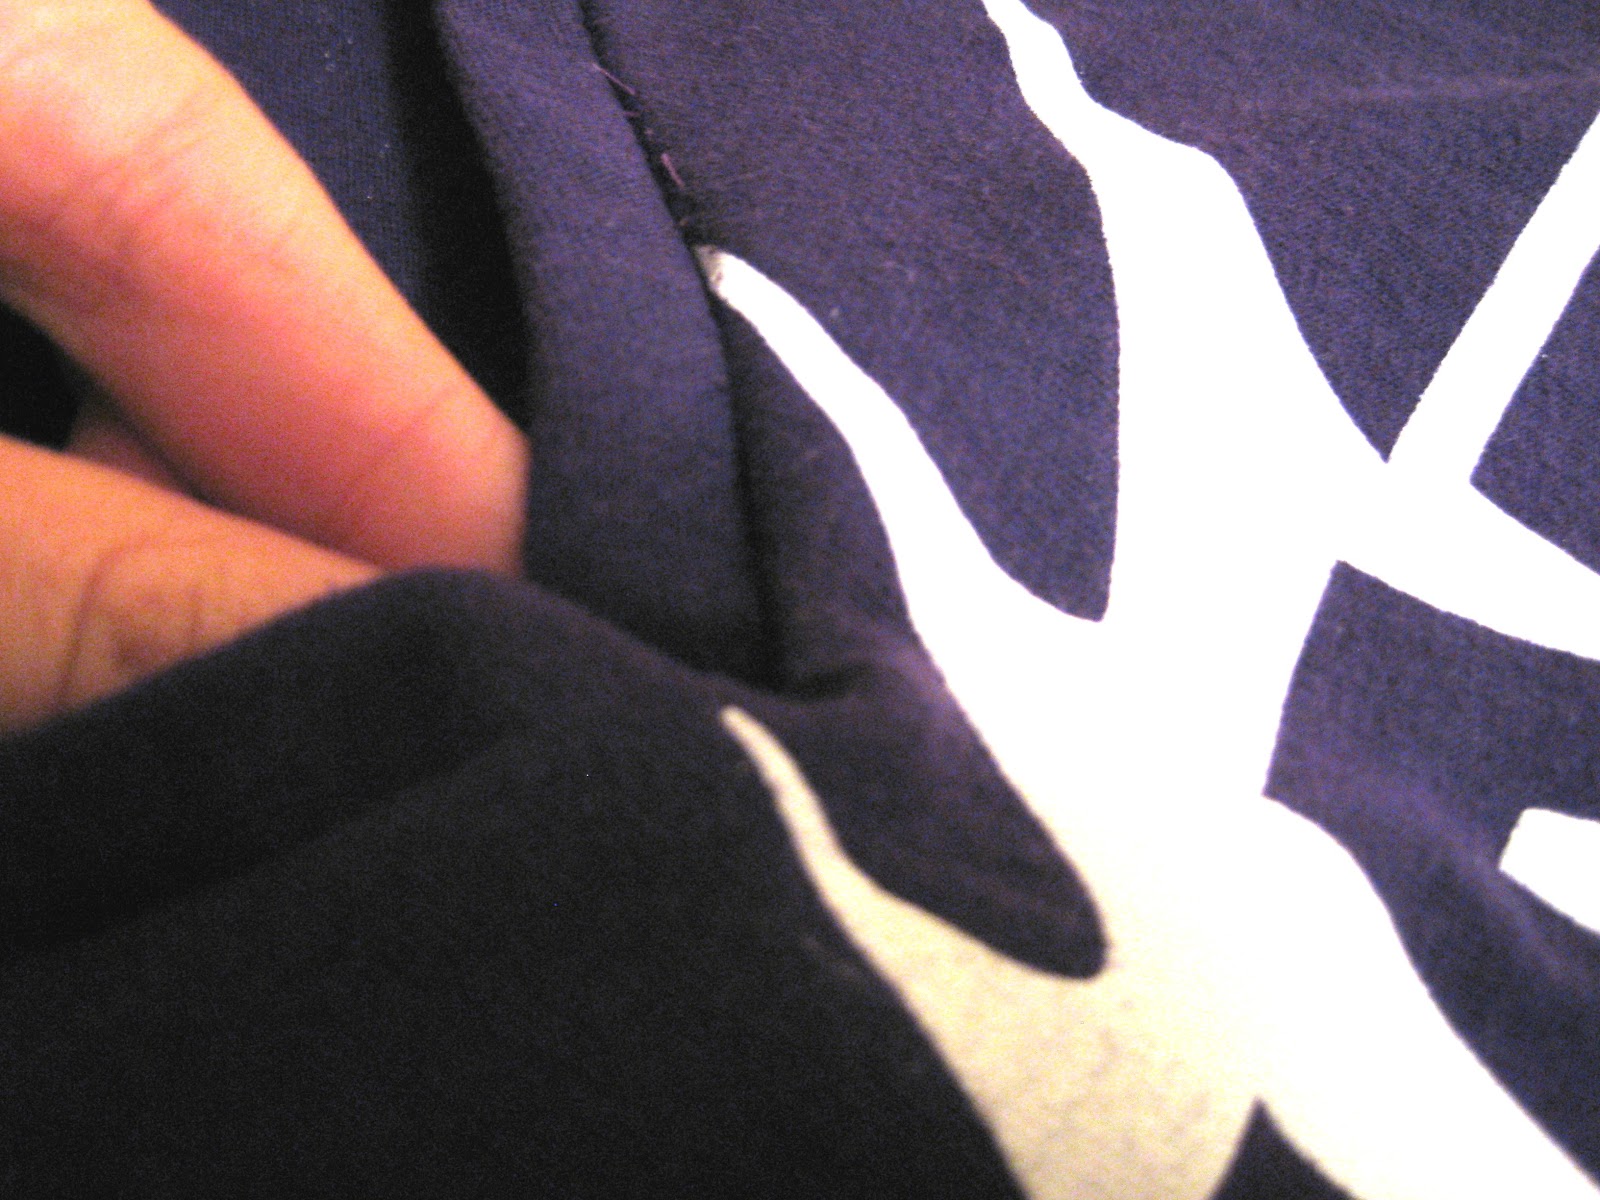
- Pin the collar to the t-shirt, right sides together. Use lots of pins.

- Sew almost all of the way around, 1/4" seam. Don't sew the "V"... yet. Leave 1/4" on each side of the point.

- Let the finagling begin... Lay back the ends of the strip and sew as close as you can to the "V".

- Pinch the edges together to make a nice "V" shape with the collar strip. Pin in place.

- Sew along the pinched line.
- Trim and tack by hand or sewing machine.


You're done!!! Enjoy your new shirt!

I've made two of these and plan to make more once I get a new sewing machine (RIP old buddy). Knit is great because it doesn't fray, so there's no need to worry about perfection here. Even if the edges don't line up perfectly, no one will notice!
I'm so glad you posted this. Hopefully I'll get around to trying this on some of my t-shirts!
ReplyDelete