Friday, May 2, 2014

Friday Favorites 5/2/14

I'm starting a new series here on GTMB, similar to posts you've most likely seen on other blogs, I'll be sharing some things I enjoy in (hopefully) weekly "Friday Favorites" posts.  I'm also planning on bringing back the "Farmer's Market" series as soon as the market picks up here in the Midwest, probably a few more weeks.

(The following are NOT affiliate links, nor was I paid or compensated in any way for these reviews, I just LOVE this stuff!)

  1. Mason Jar Drinking Lids
    The best thing about using these lids for your drinks is that if you are drinking coffee or hot tea in them, you can easily unscrew the metal band and reheat your drink if it cools.  All of my other travel mugs cannot go in the microwave (as an aside, I used to have a microwaveable mug, but it did a terrible job of keeping my drinks warm).  The other great part about them is that if you are a canner or use jars for storage, you already have the rest of the items needed (and if you don't have a mason jar, ask your friend who's a canner if they have any extra jars and bands, I've never had a problem finding free extra jars if I just ask around).
    My personal favorite (because I love championing small businesses) are Cuppow Jar Drinking Lids.  I've had mine for about a year and I LOVE using them.  I have a regular mouth clear lid and a (mysteriously disappeared) wide mouth orange lid.  They are BPA/BPS-free and a rigid, sturdy and thick plastic.  You can buy them online for around $9 each (free shipping, hooray!).

    Cuppow Regular Mouth, Soaking in the rays
    Cuppow Wide Mouth, Perfect with some hot tea!

    Recently, Ball (one of the largest producer of mason jars) came out with their Sip & Straw lids, which are very similar to the Cuppow lids, except they have a large circular opening and come with a straw.  They come in a 4-Pack, which I found at my local grocer for less than the price listed online (I think around $6), so they end up being the cheaper option.
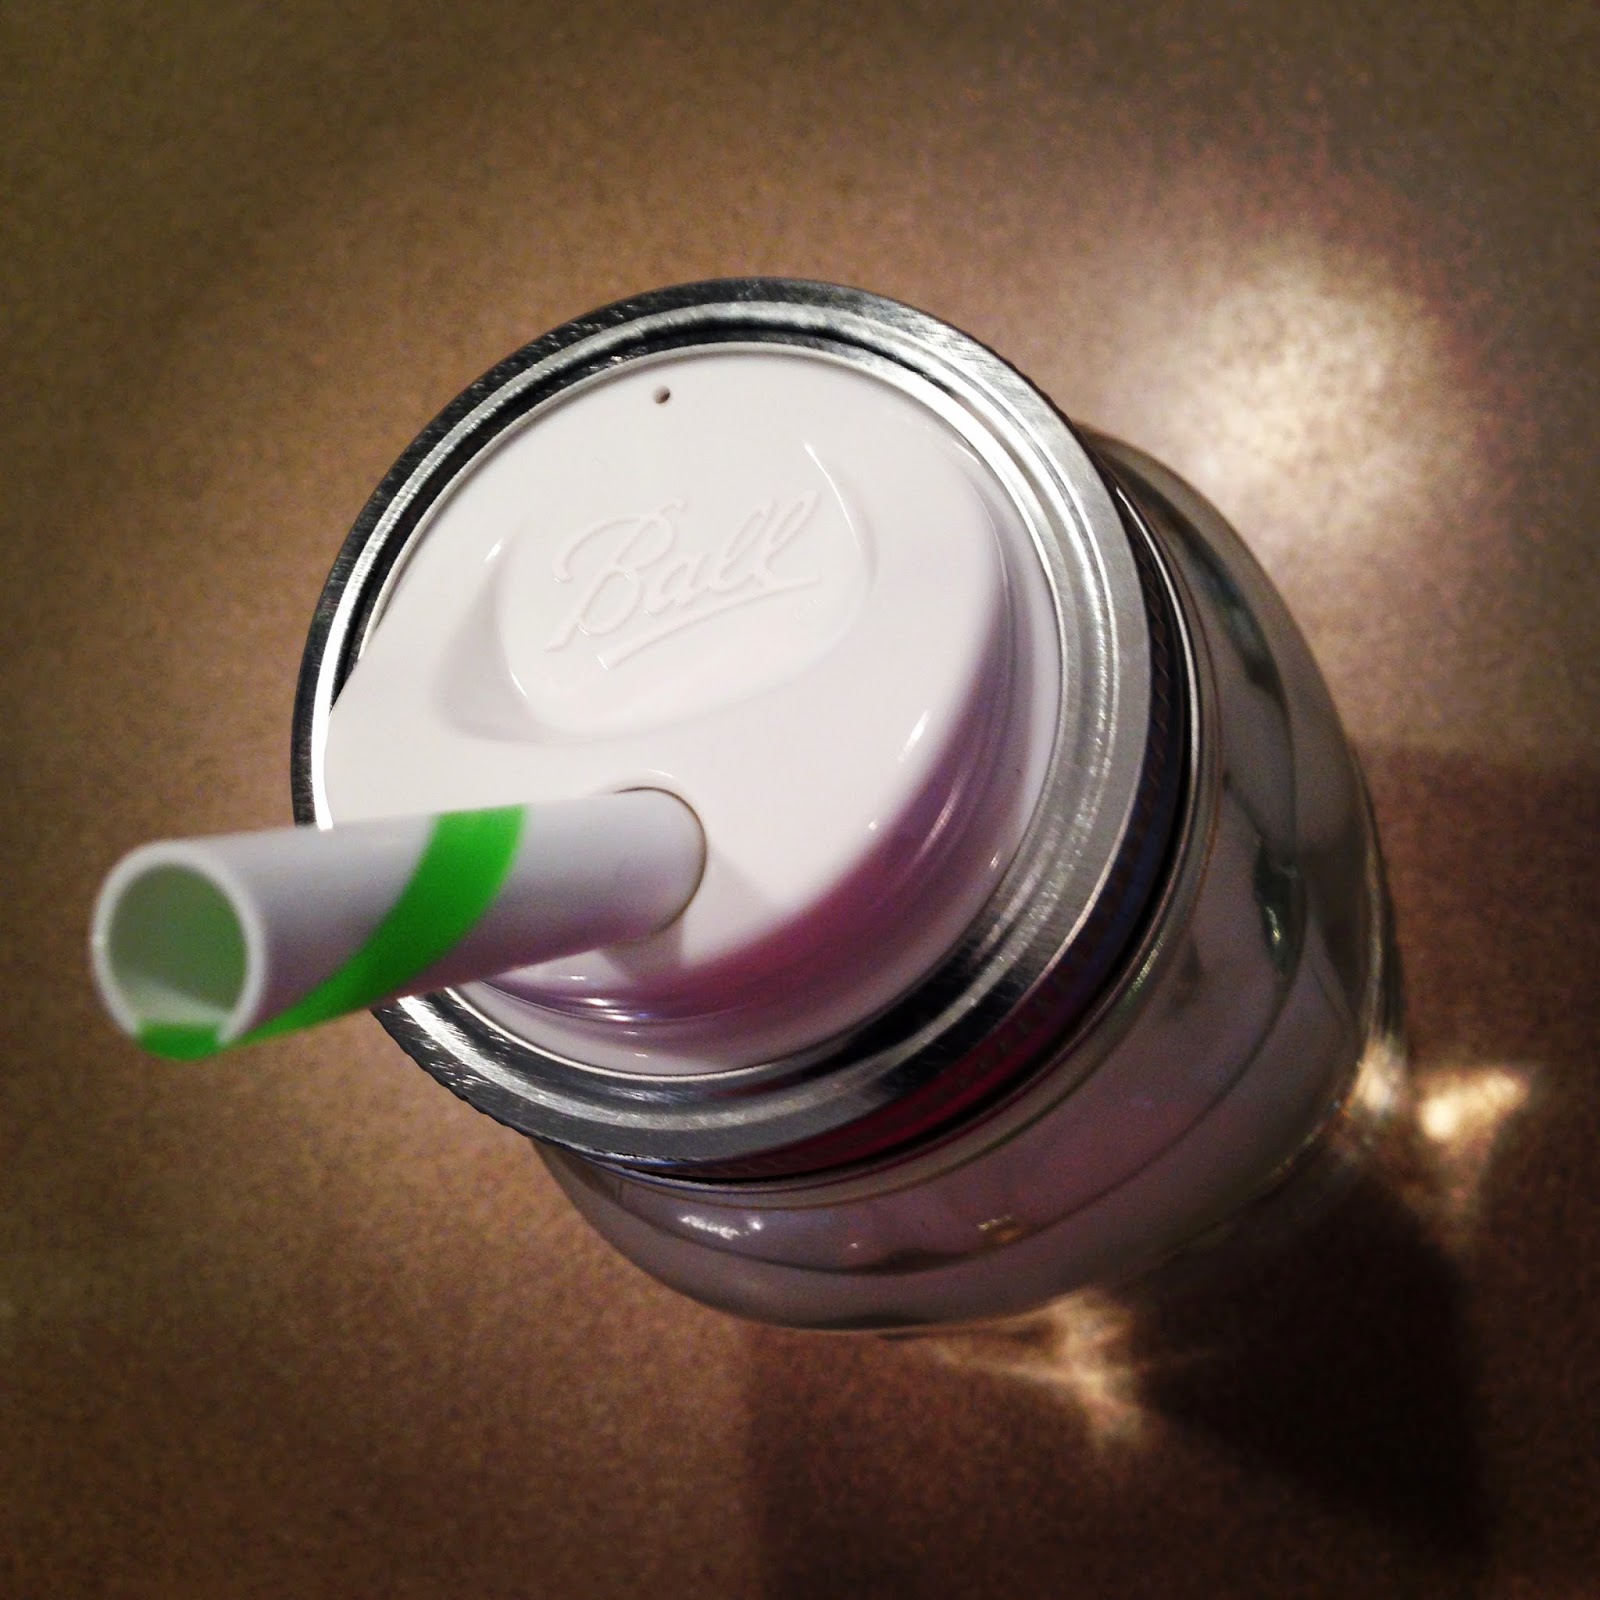
    Handsome calls this my "sippy cup," whatevs.

  2. Sally Hansen Insta-Dri Top Coat
    I am already on my 3rd bottle of this stuff, because it's so amazing.  Your nails will be dry to the touch in 30 seconds after applying this top coat--NO KIDDING!  I use it every time I paint my nails, because it dries quickly and also is super glossy.  I typically get a week's wear using this top coat, along with a good base coat and 2-ish coats of nail polish.  So, if you're looking for a salon-quality finish, long wear AND quick-dry, this stuff is the bomb.com.  I get this magic potion at my local big box store for about $5 a bottle.

    My at-home pedis last 3-4 weeks!
    (I usually repaint b/c of regrowth, not polish chipping)
  3. Mark Driscoll's "Jesus Loves His Church" Sermon Series
    I am working on my second time through this series.  I have found it very convicting and full of great illustrations, and I cannot stop talking about it to my IRL friends (have ya'll gone and listened yet???).  I have the Mars Hill app on my phone, which makes it very easy to turn on a sermon while I clean my house (truly the only way I get housework done).  As the website explains it, "To know Jesus is to know his church. And to love Jesus is to love his church. This is why, as Christians, we must wrestle with what it means to be the church, not just with our ideas of it. In this sermon series, Pastor Mark spends 11 weeks exploring what the church is, why it exists, and what it means for us."  Just. Go. Listen.

Sunday, June 10, 2012

DIY: Mason Jar Soap Dispenser

I made this!

Handsome and I's conversation a few weeks ago, while I was supposed to be helping him unpack our office.

Me:  I need you to help me make a crafty-craft.  (Blank stare from Handsome.)  I need you to drill something for me...
Handsome:  What kind of "crafty-craft" are you making that you need me to drill something?  And weren't you going to help me unpack?
Me:  I will.  I promise.  I just don't feel like it.  So... will ya help me? (Insert cheezy grin and puss-in-boots pleading eyes.)

Thus, the mason jar soap dispenser project, herein known as MJSD project, commenced.


I first saw this project on thekitchn.com, but found that it was a little more involved than the post made it sound.  I share below how it went for me and things I learned along the way; my edits are in italics.

Supplies:
  • Mason jar (pint size) and lid
  • Old soap bottle (with pump)
  • Ruler
  • 2 Part Epoxy (plastic & metal kind)
  • Toothpick (or something else to mix and spread the epoxy with)
  • Cardboard/Paper plate to mix epoxy on
  • Drill with hole attachment (with largest drill bit you have)
  • Scissors or Boxcutter
  • Marking pen
  • Leather Work Gloves (please don't cut yourself!)
  • Tin Snips
Choose a jar about the same height as your soap dispenser
(I really like that mine says "Mason Jar" on it)
Directions:

1. Cut off top of old soap bottle just below the thread.  I marked with a permanent marker, and then tried to cut with box cutters.  WEAR GLOVES!!!  I found that the plastic is really thick at the top, so just cut part of it off as best as you can, and then you can trim it later with your tin snips (or other heavy-duty scissors).  You will probably have to use a lot of pressure to cut, so BE CAREFUL!


I, obviously, didn't cut on my original line, but I cleaned it up later with tin snips.

2. Use pen to measure and mark a circle in the lid of the mason jar.  You may not know this, but it's pretty hard to measure with a pen, so I used a ruler to get a rough estimate.  Draw a tiny X where the middle is and then measure the circle width with your X in the center (see below).

Mark where to drill with an X and a circle

3. Drill hole in lid of mason jar.   Drill a hole in the center with your largest bit, or use a hole attachment if you have it (mine was a 3/4" hole).


Get someone with a steady hand to drill for you


3a. Use tin snips to widen hole until the threaded plastic part fits through.  WEAR GLOVES and BE CAREFUL!  I had no success when I tried to file the hole smooth, so I wouldn't bother, unless you're a very patient person.


These are tin snips.  You can get them at a hardware store.


Not enough yet!

Don't worry too much about sharp edges, the top part will cover it.

It probably won't be quite flush with the bottom, but that's okay,
epoxy is strong stuff and will hold it together.

4. Mix epoxy and apply to the lower rim of the bottle top.  This stuff is hard-core, so try not to make a mess.  Read and follow the package instructions.  Mine had to sit for 20 minutes, undisturbed, and then had a full-cure in 24 hours.

Here's what I used.

Use a toothpick to apply the epoxy.  Let it sit according to package directions.

5. Insert the pump dispenser through the bottle top and screw tightly to secure.


6. Let the epoxy dry according to the instructions.  I did this earlier, it makes more sense to me to let it cure separately so you don't accidentally fuze it all together... unless that's what you want.

7. Fill with your favorite liquid soap.  Or with the soap that was in the bottle you just destroyed to make your pretty, new mason jar soap dispenser!